Saunders Neck Traction
$372.12
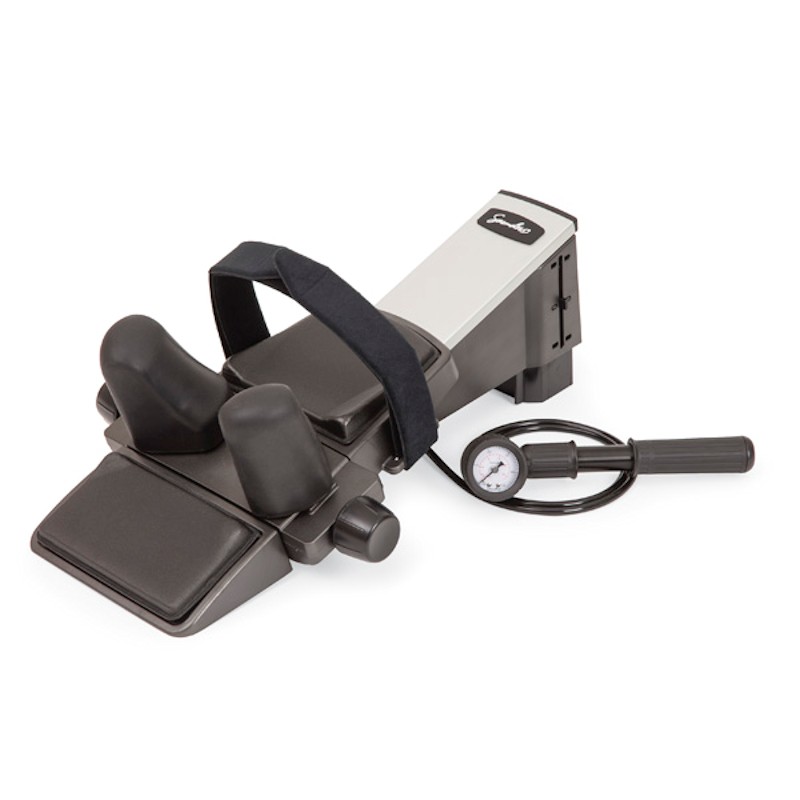
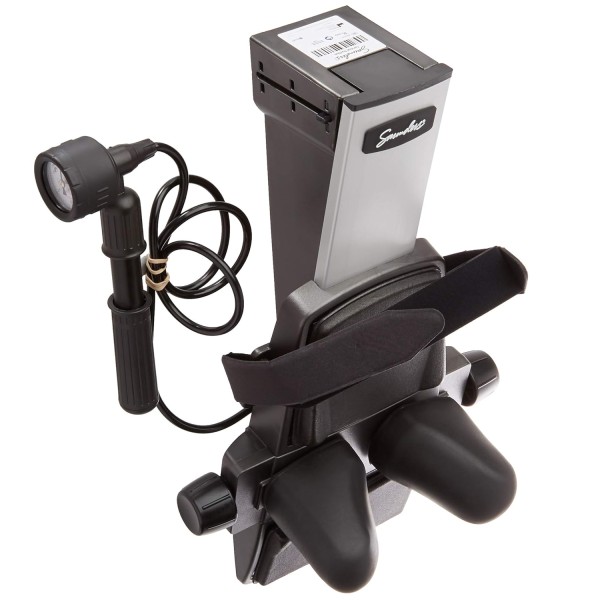
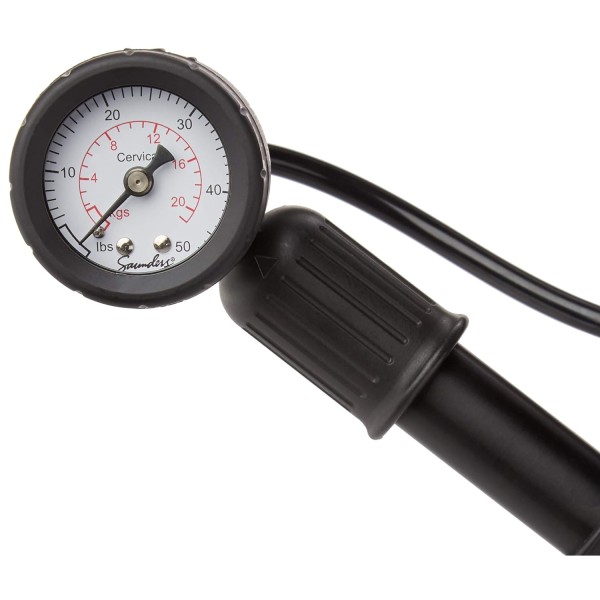
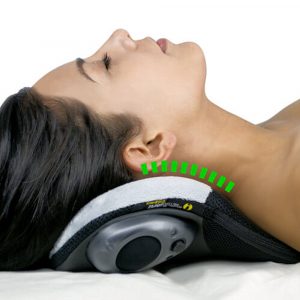
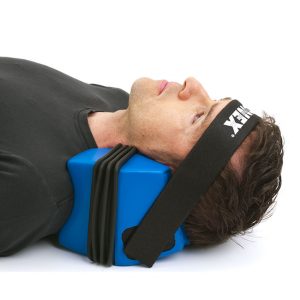
Saunders Neck Traction Forces Are Directed To The Back Of The Head To Prevent Compression Of The TMJ & Has An Easy To Read Pressure Gauge To Provide Total Control Of The Decompression Force At All Times. Quick And Simple Patient Set Up Permits Home Traction Therapy Without Assistance
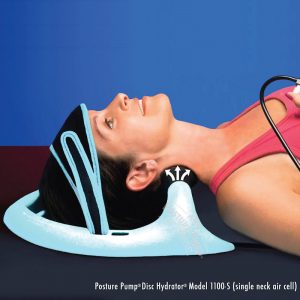
Innovative Design Replicates Clinical Cervical Traction And Promotes Consistency Of Treatment. The Pneumatic System Allows Reliable Force Accuracy And Leak Free Performance. The Gold Standard In Home Neck Traction.
Prices & Offers Subject To Change
Saunders Neck Traction – Professional Traction For Use At Home
If you have instructions from your health care provider, they should be followed precisely. Traction should never cause pain. A stretching sensation or some slight discomfort may be felt during treatment. If pain is increased in the neck, back, arms or legs, or if you experience dizziness, nausea or any other type of pain or discomfort during or after treatment with the saunders neck traction device, discontinue use immediately and consult your health care provider before further use.
Indications for Use
Saunders neck traction can be used to treat these conditions:
Contraindications for Saunders Cervical Traction
Traction should not be used to treat these conditions:
- acute or traumatic injury
- rheumatoid arthritis
- spinal instability
- spinal cord compression
- fracture
- malignancy
- infections and inflammatory diseases
- any other conditions that may be made worse by movement
Device Components
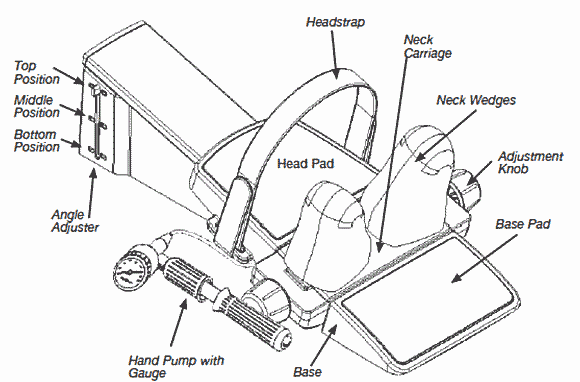
Before You Begin Using Saunders Cervical Traction, review the instructions and/or guidelines from your health care provider regarding:
- amount of traction recommended (never so much that it hurts)
- duration (amount of time) of each treatment
- hold and relax times if intermittent traction is recommended
- number of treatments recommended per week or per day
- angle of pull
Using The Saunders Neck Traction
Remove earrings and any other jewelry or neckwear. Articles of clothing such as ties, scarves, hats and bulky shirt collars or sweaters should be removed since they may interfere with treatment. If you have long hair it should not be gathered on the back of your head, as in a braid or bun, since this will not allow your head to rest in the proper position.
Preparation
1. Place the device on a carpeted floor or other firm surface. Check to make sure that the air hose is not being pinched by the bottom of the unit. Make sure you have enough room to lie down in a comfortable position.
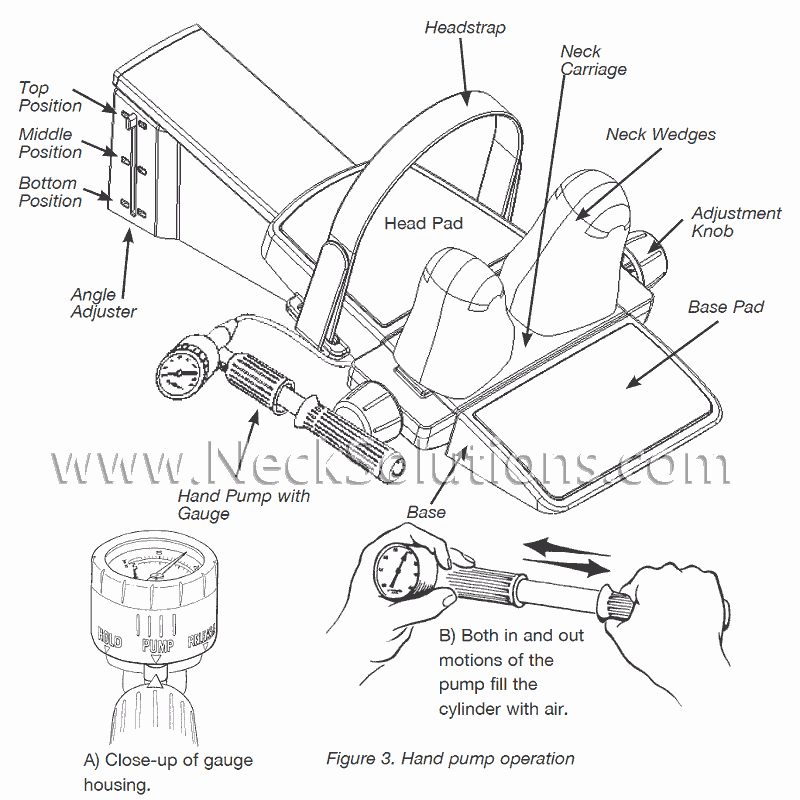
2. Separate the neck wedges by rotating either of the black adjustment knobs so that your neck fits easily between the wedges. You can make additional adjustments after you lie down in the Saunders Cervical Traction device. NOTE: Do not over-rotate the adjustment knobs. This will result in stripping the internal gear.
3. Loosen the adjustable head strap.
4. Ensure the device is in the starting position – neck carriage should be touching the base. If not, rotate the gauge housing to the “RELEASE” position.
5. Set the traction angle by squeezing and sliding the tabs on both sides of the Angle Adjuster until it locks into place.
Angle Adjuster Positions: Top = 15 degrees, Middle = 20 degrees, Bottom = 25 degrees
NOTE: If your health care provider did not specify the angle of pull for the saunders cervical traction, leave the Angle Adjuster in the top position.
6. Place the pump in a position so that you can reach it during treatment.
7. Set a timer for the length of treatment (not included with your Saunders Neck Traction device.)
You are now ready to use the Saunders Cervical Traction device.
Applying Traction
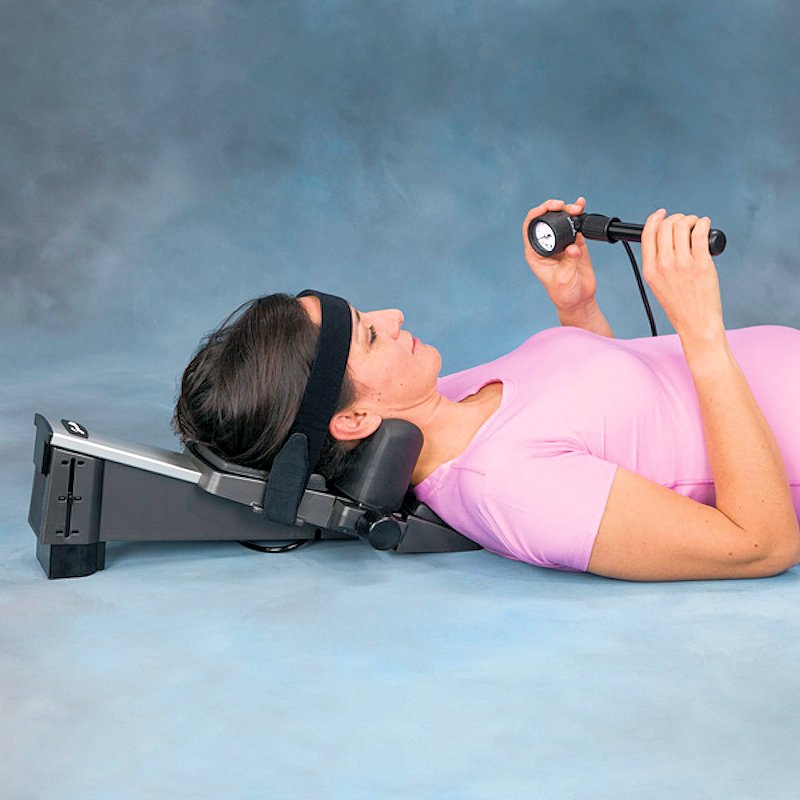
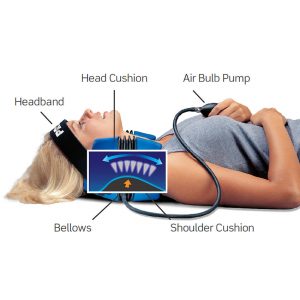
1. Lie on your back, positioning your body so the neck wedges cradle the middle or narrowest part of your neck and your head rests comfortably on the head pad. The neck wedges should contact your neck midway between the tips of your earlobes and the top of your shoulders.
2. Turn either of the adjustment knobs until the wedges have moved firmly against both sides of the neck.
3. As you settle into the Saunders Neck Traction device, the neck wedges may slightly rotate and self-adjust to the
contour of your head and neck, or you can rotate the wedges manually as needed for the most comfortable fit.
4. Secure the head strap over your forehead, just above the browline. This strap should fit snugly.
5. Apply traction using the pump.
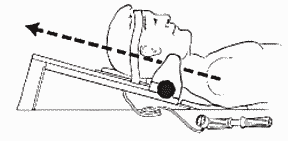
Saunders Cervical Traction Hand Pump Operation
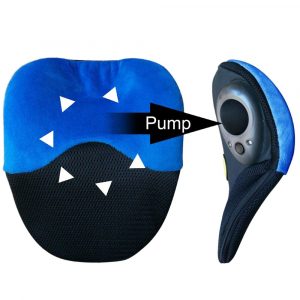
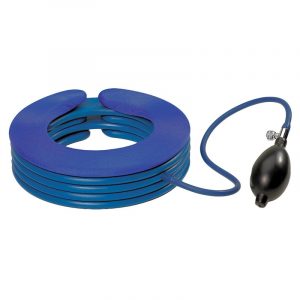
Once you are secure and comfortable in your Saunders Neck Traction device, you will apply traction by pumping air into a cylinder using a hand pump

Both in and out motions of the pump fill the cylinder with air.
Rotate the gauge housing of the hand pump to the “PUMP” position. Begin SLOWLY pumping air into the cylinder by stroking the pump handle all the way out and all the way in. Observe the gauge to make sure you are staying within the guidelines provided the amount of traction desired or instructed by your health care provider. When you have reached the desired amount of stretch, rotate the gauge housing to the “HOLD” position. Begin timing your treatment.
CAUTION: The stretch provided by traction should never cause pain. Relax . . . let your traction device do the work. When the treatment is complete, release the traction by rotating the gauge housing to the “RELEASE” position.
CAUTION: Keep fingers away from the gap between the neck carriage and base.
Undo the head strap. You should rest and relax for a few moments; then move your head slightly up and down and side to side a few times before getting out of the traction device.
NOTE: In the course of your treatment it is normal for a small loss of pressure (by 10%) due to the relaxation of your spine. As this occurs, add additional air to return to the prescribed force. If you give too much traction, rotate the gauge housing to the “RELEASE” position to let some air out of the system.
Review of Hand Pump Operation
1. “HOLD” – holds traction force at the desired level.
2. “PUMP” – fills the cylinder with air, increasing the traction force.
3. “RELEASE” – empties air from the cylinder during or after treatment and prior to use.
Additional Information
- Gradually work up to recommended treatment times/force. Initial treatment times of 3-5 minutes may be required for acute or irritable conditions
- Forces listed above are for average size and mobility patients
- The pre-set is at a 15 degree angle which positions the most patients in a neutral posture. Angle adjuster can be used to increase for patients with severe forward head posture or thoracic kyphosis
- Side bending the unit to achieve a unilateral or one sided pull
Cleaning the Saunders Neck Traction
All surfaces of your Saunders Cervical Traction device may be cleaned with a mild detergent or disinfectant. Do not immerse unit in water. If unit is transferred between different users, all surfaces should be cleaned using standard cleaning techniques paying particular attention to the components that come in contact with the body; we recommend using a new head strap.
Storage
Your traction device should be stored in its protective case.
Troubleshooting
The device features a very accurate, sensitive gauge. The pump is specifically designed not to leak in the “HOLD” position. If you notice a drop in the gauge reading when in the “HOLD” position it is probably because you have relaxed or moved slightly. If this happens, return to the “PUMP” position and pump back to the desired force, then reset to “HOLD.”
Proper operation of the Saunders Cervical Traction device requires that the air system be virtually leak-free. If the traction force is not maintained, there may be a leak somewhere in the system.
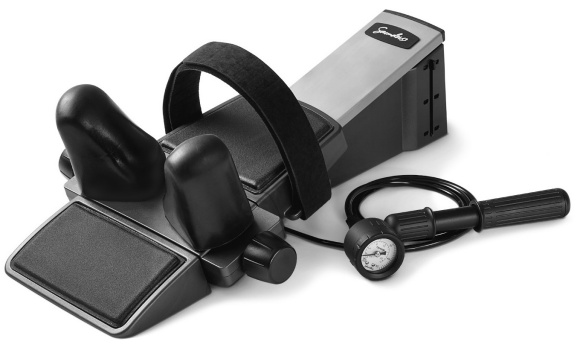
Questions to Ask:
– Is the pump in the “PUMP” position when pumping?
– Is the pump in the “HOLD” position when receiving treatment?
– Are you lying still? (Any movement will cause fluctuation.)
– Are you pumping slowly?
– Are all connections tight (i.e. hose cap, lens cap, good hose connection at the cylinder?)
If the unit is leaking air, try the following:
– Check the air hose connections at the cylinder and the pump and gently tighten as necessary. Do not over-tighten as the threads may strip.
– Make sure that the unit has not slipped and gone to full excursion (4″)
– Perform a POP test. With no one in the saunders cervical traction unit, pump up the pressure until the unit makes a loud pop (at about 50 lbs.,) then rotate the gauge to the release position, and proceed with your treatment.
HCPCS Code: E0849 | Applies up to 50 Pounds of traction force.
